Advanced Concept Materials: Procedural Dirt & Edge Wear
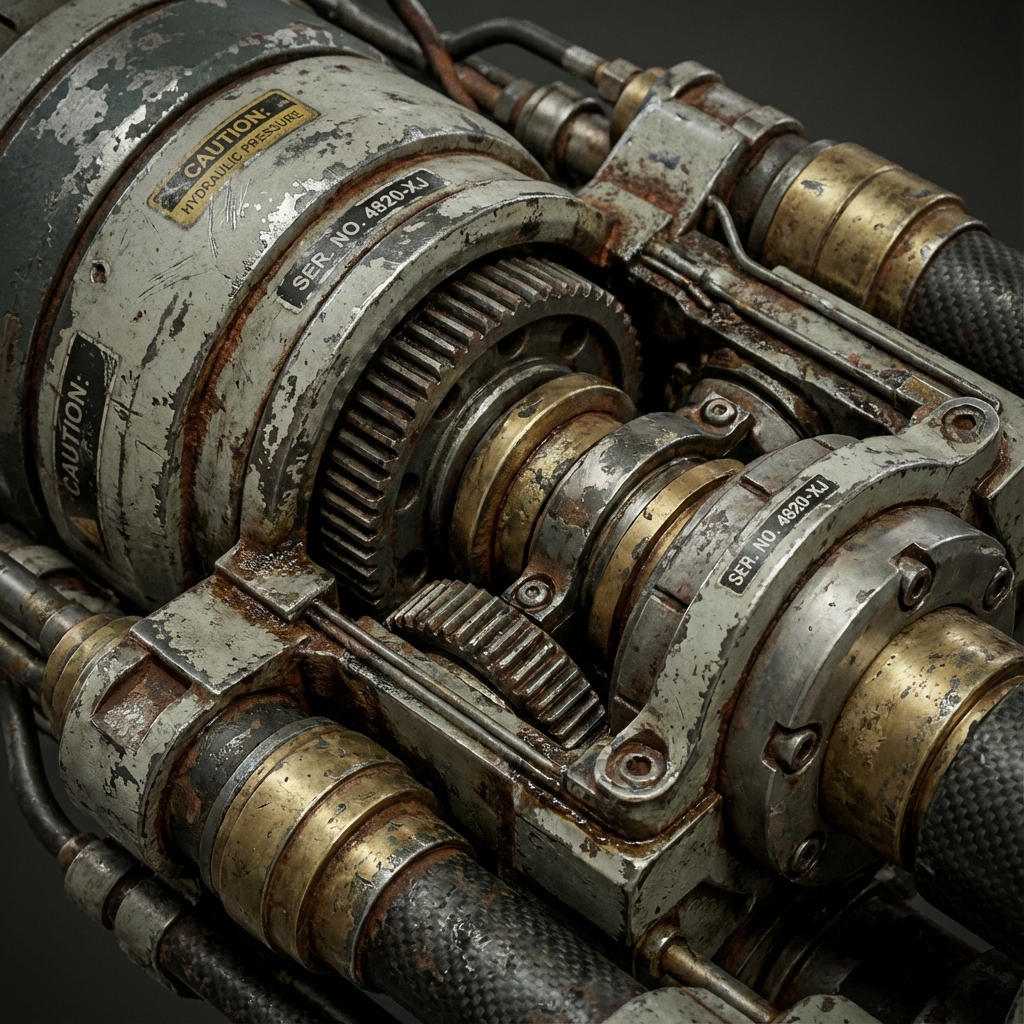
A pristine 3D model looks fake. In concept art, we need things to look used, weathered, and grounded in reality. Hand-painting dirt on every asset is too slow.
This guide teaches two essential procedural tricks in Blender to create believable wear and tear with zero UV setup.
1. Philosophy of Imperfection
Clean equals fake. Realism emerges from broken edges, scratched paint, and organic grime.
- Use Ambient Occlusion to simulate dirt build-up.
- Use Bevel Shader Node to simulate chipped edges.
These tricks bypass the need for high-poly baking or texture painting.
2. Procedural Dirt with Ambient Occlusion
The Ambient Occlusion (AO) node detects self-shadowing. Use this as a mask to drive dirt materials.
Setup:
- Add Ambient Occlusion node.
- Plug output → ColorRamp → Mix Shader (Fac).
- Create a dirty shader (e.g., brown Diffuse with Noise Bump).
- Mix it with your clean shader using the AO mask.
Optional Enhancements:
- Multiply AO with a Noise Texture → adds patchiness.
- Combine with Pointiness output from Geometry node for convex/concave blending.
3. Procedural Edge Wear with Bevel Node
The Bevel Shader Node acts like a curvature map. It detects edges and corners for wear masking.
Setup:
- Add Bevel node (Radius: 0.02–0.05).
- Connect Bevel →
Vector Math (Dot Product). - Add Geometry node → plug Normal into second Dot Product input.
- Output → ColorRamp (isolate edges).
- Use ColorRamp as Factor in a Mix Shader:
- Top shader = chipped metal
- Base shader = paint/plastic
Notes:
- Works best in Cycles (Bevel not supported in Eevee).
- Add Noise or Grunge Textures to break uniformity.
4. Tri-Planar Mapping for Fast Texturing
Forget UVs. Use Box Projection with Triplanar Blending.
Setup:
- Texture Coordinate node → Object output.
- Plug into Mapping, then Image Texture (Projection: Box).
- Set Blend to 0.2–0.5.
Result: Clean projection across all axes. Works well on terrain, rocks, and modular assets.
5. Mixing PBR and Photo Elements
Combining procedural setups with real-world grunge adds realism fast.
Decals:
- Enable Import Images as Planes
- Add rust/scratch PNGs
- Use Shrinkwrap Modifier to conform to mesh
Dirt Overlays:
- Add grime image as Box-projected texture
- Mix into shader using Multiply or Overlay blending
- Tint globally for artistic control
6. Final Polish
- Use Bump Mapping from grunge textures for micro detail
- Add Subtle Color Variation using HSV noise (Hue jitter)
- Composite AO and Edge Masks in Photoshop for hybrid paintovers
Conclusion
Procedural materials are essential for speed, flexibility, and believable results. With AO dirt, Bevel edge wear, and triplanar overlays, you can turn sterile models into production-ready props in minutes—without ever opening a UV editor.
Next and Previous
- Previous: Prop Design: Industrial Workflows in Blender
- Next: Sci-Fi Trim Sheets in Blender: UV-First Modeling for Infinite Panel Detail
Related tutorials
- Vehicle Concept Art Materials: Paint Wear, Decals, Grime, and Story Damage
- Organic Environments: Procedural Workflows in Geometry Nodes
- Vehicle Design in Blender: Blockout, Scale, Camera Lenses, and Paintover-Ready Renders
- Mist Pass in Blender: Z‑Depth Workflow for Atmospheric Perspective in Photoshop