Vehicle Design in Blender: Blockout, Scale, Camera Lenses, and Paintover-Ready Renders
Vehicles become believable when scale, stance, and construction are consistent. Blender solves perspective and proportion instantly—if you use it like a concept artist (not a production modeler).
This guide is a pro workflow:
- a fast Blender scene setup for vehicle concepting
- blockout methods that prioritize silhouette and stance
- camera lens choices for different concept goals
- quick render passes for paintover (beauty, AO, Mist)
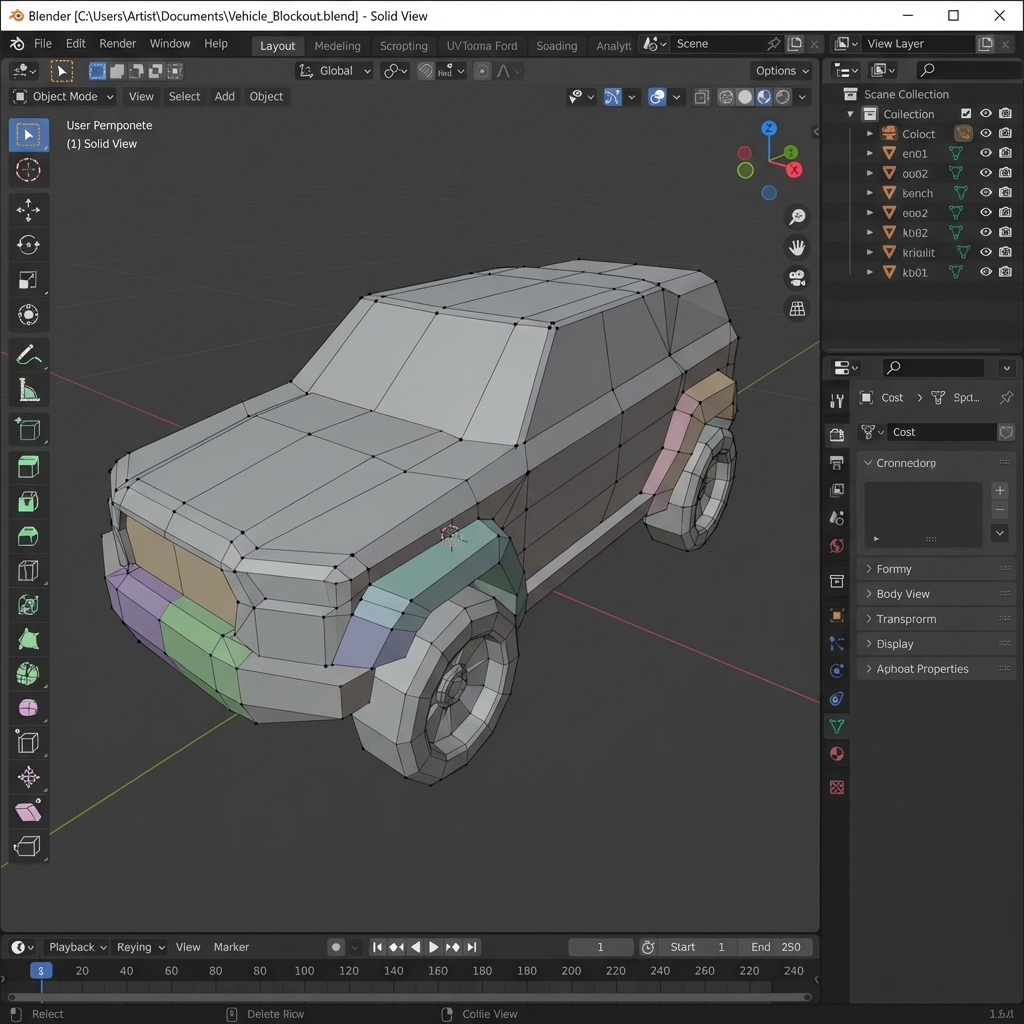
1. The Concept Blockout Mindset
For concept art:
- primitives first
- topology doesn’t need to be perfect
- speed and iteration matter more than clean wireframes
The 10-minute blockout target
If you can’t block a vehicle in ~10–20 minutes, you’re over-modeling.
2. Scale Setup (Non-Negotiable)
Vehicles feel wrong when they’re not grounded in real measurements.
Minimum scale setup
- Add a human reference (1.75–1.8m)
- Set units to metric
- Decide:
- door height (~2m)
- wheel diameter (varies, but be consistent)
- cabin headroom
Pro tip: keep a “scale ruler” object in scene (a 2m box) so you can sanity check quickly.
3. Camera Lenses for Vehicles (Concept Art Use Cases)
Lens choice changes the story.
- 24–35mm: dynamic, cinematic, exaggerates perspective
- use for marketing angles and dramatic frames
- 50mm: neutral, readable design presentation
- use for clean portfolio shots
- 85mm+: compresses space, reduces distortion
- use for cleaner design reads and orthographic-like clarity
Rule: if it looks distorted and weird, you’re too wide.
4. Fast Vehicle Blockout Workflow
Step-by-step
- Block chassis as a box.
- Block cabin as a second box.
- Add wheel primitives (cylinders).
- Use Mirror modifier for symmetry.
- Add 2–3 medium forms:
- fenders
- engine pod
- cargo box
Speed tools
- Mirror modifier
- Array for repeating vents
- Boolean cuts for quick panel recesses
- Bevel modifier for highlight-catching edges
Concept rule: bevels make everything look 10× better.
5. Kitbash Smart (Medium + Small Details)
Kitbashing saves time when used correctly.
- You model the unique big silhouette.
- You kitbash vents, bolts, cables, sensors.
Pro tip: keep kitbash density concentrated in functional zones (engine, access panels, doors).
6. Paintover-Ready Render Passes
Even one extra pass can save hours.
Recommended outputs
- Beauty
- AO
- Mist/Z-depth (for atmosphere)
Why passes matter
- AO adds instant grounding and crevice definition.
- Mist allows depth grading and fog in Photoshop.
7. Quick Lighting for Vehicle Concept Renders
Use a simple cinematic rig:
- key light to define planes
- rim light to separate silhouette
- low fill to keep shadows readable
Then do mood in Photoshop.
Exercises
- Build 3 blockouts of the same vehicle role:
- armored
- civilian
- scavenger
- Render each with AO + Mist and compare readability.
Next and Previous
- Previous: Vehicle Design for Concept Art: Thumbnails to Blueprint (Side View First)
- Next: Vehicle Concept Art Materials: Paint Wear, Decals, Grime, and Story Damage