The Hybrid Pipeline: Integrating 2D and 3D
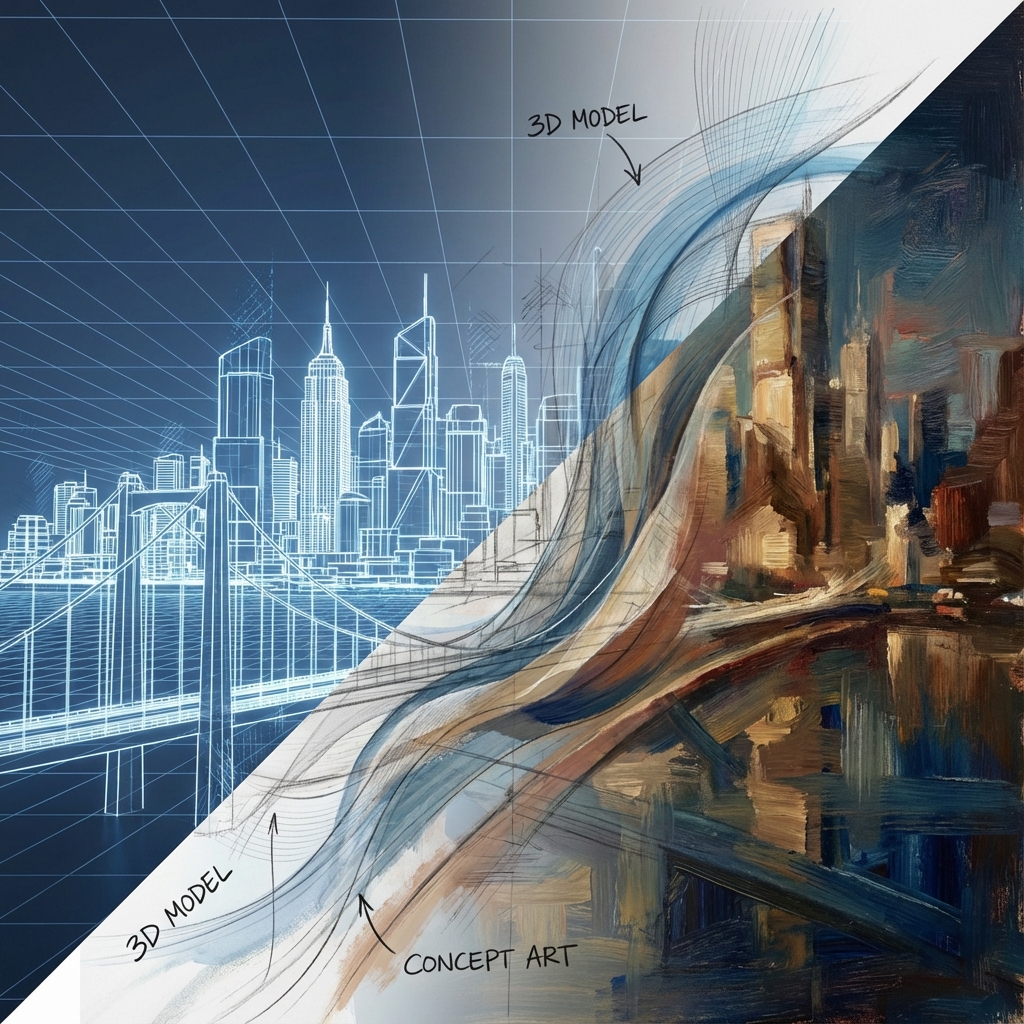
Modern concept art is no longer siloed into “2D artist” or “3D artist” roles. Today’s professionals are fluent across both, using Photoshop and Blender as interchangeable tools to solve design problems.
The hybrid pipeline is the standard in AAA studios, film pre-production, and indie projects alike. It allows for fast exploration, visual accuracy, and ultimately more polished results.
This guide breaks down how to master the Sketch → Blockout → Paintover loop and create world-class concept art.
1. Why Hybrid is the Future
- 2D is Fast, 3D is Accurate: Photoshop excels in mood, spontaneity, and visual flair. Blender excels in perspective, lighting, and structure. Combine them to avoid compromise.
- Clients Demand Iteration: In production, revisions are constant. A hybrid pipeline gives you the speed to iterate and the structure to pivot without starting over.
- It’s How the Pros Work: Artists like Maciej Kuciara, Jama Jurabaev, and Nina Leinwatter all use hybrid workflows. It’s not a trend—it’s the new normal.
2. Begin with Sketch or Blockout?
There’s no single right answer—each project determines the starting point.
- Start with Sketch When: You’re figuring out mood, shape language, or selling a loose idea. Use thumbnails to find the silhouette and narrative hook.
- Start with Blockout When: You need to nail composition, camera angle, or spatial layout. Especially useful for environments or complex props.
- Flexible Entry Point: Many pros bounce between the two even in early stages. Sketch a few thumbnails, pick one, block it in 3D, then return to 2D to refine.
3. 2D to 3D: Blocking from a Sketch
- Import Image Plane: Bring your sketch into Blender via “Add > Image > Reference” and position it in front of the camera.
- Camera Match: Adjust focal length and perspective to align with your drawing. Lock the camera and start building geometry to match your sketch.
- Reference Stacking: Add additional orthographic images (top, side, front) to aid volume translation. This is common in character concept modeling.
4. 3D to 2D: Paintover from a Blockout
- Export Screenshots or Renders: Set up the camera with a cinematic aspect ratio. Use MatCap shading or Eevee for fast renders.
- Material ID and AO Passes: Render out masks and ambient occlusion passes for flexible layer control in Photoshop.
- Value Painting: Start your paintover in grayscale to emphasize lighting and form. Use clipping masks to control color zones.
- Photobash and Paintover: Combine 2D texture overlays with brushwork. Use lighting adjustment layers to match 3D lighting and enhance it.
5. The Sandwich Method (Iterative Loop)
- Sketch → Blockout → Sketch: After initial 3D blockout, bring it into Photoshop and sketch over it. Try alternate angles, forms, or lighting.
- Blockout → Paintover → Refine 3D: Return to Blender with new ideas. Push silhouettes, fix perspective, or iterate with different lighting setups.
- Paintover Again: Repeat as needed. This bounce-back loop allows exploration without sacrificing structure.
6. Kitbashing as a Superpower
- 3D Asset Libraries: Use Megascans, Sketchfab, or custom assets. Kitbash scenes by dragging in elements and scaling them to fit.
- Speed Over Precision: Don’t retopologize or UV—just block and render. Concept art is about storytelling, not engineering.
- 2D Integration: In Photoshop, use these kits as texture base, then paint over with style brushes to harmonize them visually.
7. Narrative Drives Everything
- Start with the Story: Is your scene post-apocalyptic, futuristic, ancient? That determines lighting, materials, architecture, and mood.
- Mood Boards: Use PureRef or Milanote to gather visual reference. Photos, paintings, films—anything that feeds your theme.
- Micro-Narratives: Think about the small stories in the scene—a broken pipe, a vehicle with scorch marks, a torn banner. These suggest history.
8. The Feedback Stage: Preparing for Review
- Layered PSDs: Keep Photoshop files organized. Label groups clearly (e.g., “Lighting Pass,” “FX,” “Paintover”).
- Process Gifs: Export progress shots from 3D and 2D stages. Art directors love seeing evolution.
- Variation Thumbnails: Use Photoshop’s Artboard feature or just duplicate canvases to show multiple takes on the same concept.
9. Bonus Tips for Seamless Integration
- Use Blender’s Freestyle Lines: Export line art from 3D to serve as a base sketch in Photoshop.
- Photoshop Smart Objects: Use Smart Objects for imported renders—non-destructive updates and filters.
- Bridge Gaps with Color Matching: Use Gradient Map, LUTs, and Curves to unify photographic elements and 3D renders.
- Noise for Cohesion: Add subtle grain overlays to glue paint and photos into one visual style.
Conclusion
The hybrid pipeline is the ultimate force multiplier. It lets you experiment without fear, iterate without frustration, and deliver polished work with confidence.
Start rough. Switch tools. Paint over. Re-block. Kitbash. Explore. Refine.
By mastering the balance of 2D and 3D, you not only increase the quality of your work—you future-proof your career in an evolving concept art industry.
Coming next: brush packs, lighting rigs, and file templates to make your hybrid workflow even faster.
Next and Previous
- Previous: Blender for Concept Art: Speed, Scale, and Atmosphere
- Next: Organic Environments: Procedural Workflows in Geometry Nodes