Organic Environments: Procedural Workflows in Geometry Nodes
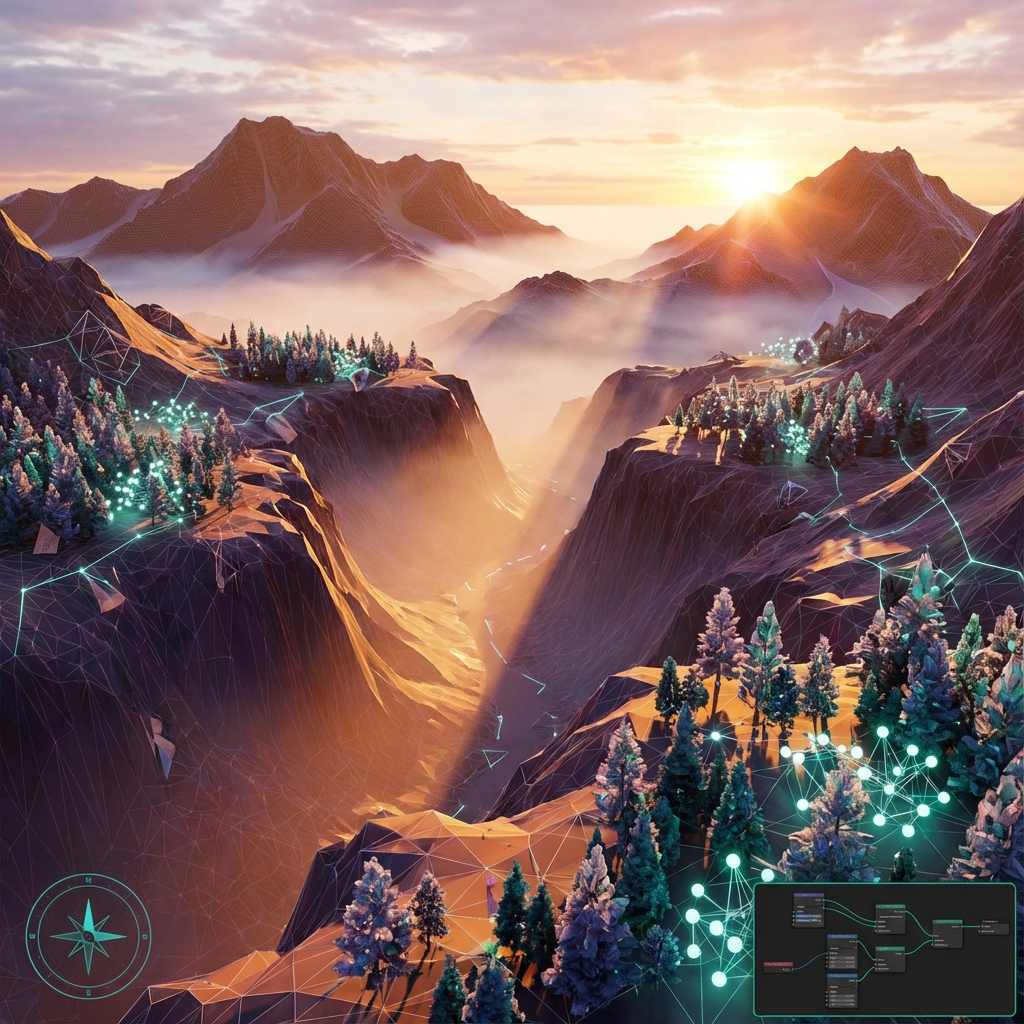
Environment design in 3D used to mean hours of sculpting cliffs and placing trees one by one. Not anymore. With Blender’s procedural toolset, we can build massive, detailed worlds that remain flexible until the final render.
This guide covers the modern “scatter-and-stack” workflow using A.N.T. Landscape, Geometry Nodes, and weight painting.
1. Generating Base Terrain Fast
Don’t start with a plane and a sculpt brush. Use the built-in A.N.T. Landscape add-on (enable it in Preferences) to generate a high-quality base mesh in seconds.
Workflow:
- Shift + A → Mesh → Landscape.
- Open the operator panel (bottom left) to tweak settings:
- Type: Mountain, Canyon, Ridged
- Size: Adjust width/depth/height
- Seed: Shuffle terrain randomness
- Subdivision Modifier: Add a Subdivision Surface modifier (Viewport: 2, Render: 4) for smoother topography.
Pro Tip: Save your favorite terrain base as an asset or template for re-use across scenes.
2. Procedural Scattering with Geometry Nodes
Particle systems are outdated. Geo Nodes offer non-destructive, artistic control.
Basic Scatter Node Tree:
- Add Geometry Nodes Modifier to terrain.
- Click “New” → Open Shader Editor (Geometry Nodes context).
- Create the following setup:
Distribute Points on Faces→Instance on Points- Import scatter asset (e.g., Tree or Rock) as geometry input
Join Geometryto combine with original terrain
[Terrain] → Distribute Points → Instance on Points (Tree Asset) → Join Geometry → Output
Add Randomness:
- Rotation:
- Add
Random Value (Vector)→ plug into Rotation - For upright rotation only:
Combine XYZ→ feed random value into Z only
- Add
- Scale:
Random Value (Float)→ plug into Scale (e.g., Min: 0.8, Max: 1.2)
3. Weight Painting for Scatter Control
Control where things appear.
Setup:
- Select terrain → switch to Weight Paint mode.
- Paint RED in areas for high scatter density, BLUE for none.
- Name vertex group (e.g.,
Foliage_Mask). - In Geo Nodes:
- Promote Density input on
Distribute Points on Facesto Group Input. - In Modifier UI, link that input to your vertex group.
- Promote Density input on
Result:
Painted areas define precise vegetation zones—avoid underwater trees or cliffside grass.
4. Layering Natural Assets
Don’t stop at trees—scatter:
- Grass blades (low-poly particle strands)
- Rocks (kitbashed boulders)
- Dead leaves (flat alpha cards)
- Flowers (custom asset packs)
Optimization:
- Use Proxy Collections or low-poly LODs for large scenes
- Disable shadows on distant assets for faster render
5. Lighting and Atmosphere
Large landscapes feel fake without scale and mood.
Mist Pass (Compositor):
- Enable Mist pass in
View Layer > Passes. - In Compositor:
- Use
Map RangeorColor Rampto adjust mist density - Mix with blue-grey color using
Mix (Screen)orAdd
- Use
Volumetric Fog:
- Add large cube volume over environment
- Apply Principled Volume Shader
- Density:
0.005to0.01 - Anisotropy:
0.6–0.9for directional scatter (god rays)
- Density:
Lighting Tips:
- Use large Area Lights or Sun lamp
- Add cloud gobo to break light into shafts
- Lower sun angle for longer shadows and better depth
6. Exporting for Paintover
Once your base render is complete:
- Add Ambient Occlusion, Mist, and Shadow passes
- Export layers individually (EXR/PNG)
- Import to Photoshop
- Use AO as Multiply for detail enhancement
- Use Mist for depth painting
Conclusion
Procedural workflows save time and create more flexible environments. Mastering Geometry Nodes and terrain generation lets you build believable, scalable, painter-ready scenes without sculpting a single boulder by hand. This is the modern concept artist’s toolkit—fast, clean, and infinitely iterative.
Next and Previous
- Previous: The Hybrid Pipeline: Integrating 2D and 3D
- Next: Sci‑Fi Architecture in Blender: Greebles, Paneling, Arrays, Decals, and Scale Cues