Blender for Concept Art: Speed, Scale, and Atmosphere
In concept art, 3D is a means to an end. We aren’t trying to make game-ready assets with perfect topology—we’re trying to create compelling images that sell mood, design, and story. The goal is speed, iteration, and “believable lies.”
This in-depth guide will teach you how to leverage Blender as a design tool, not a modeling software. From rapid blockouts to lighting magic, you’ll learn to sculpt environments that impress clients and art directors alike—without obsessing over polygon counts.
1. Start Before You’re Ready: Blockout as Ideation
Don’t get stuck in the idea stage. The best designs happen when you’re inside the software, not sketching endlessly.
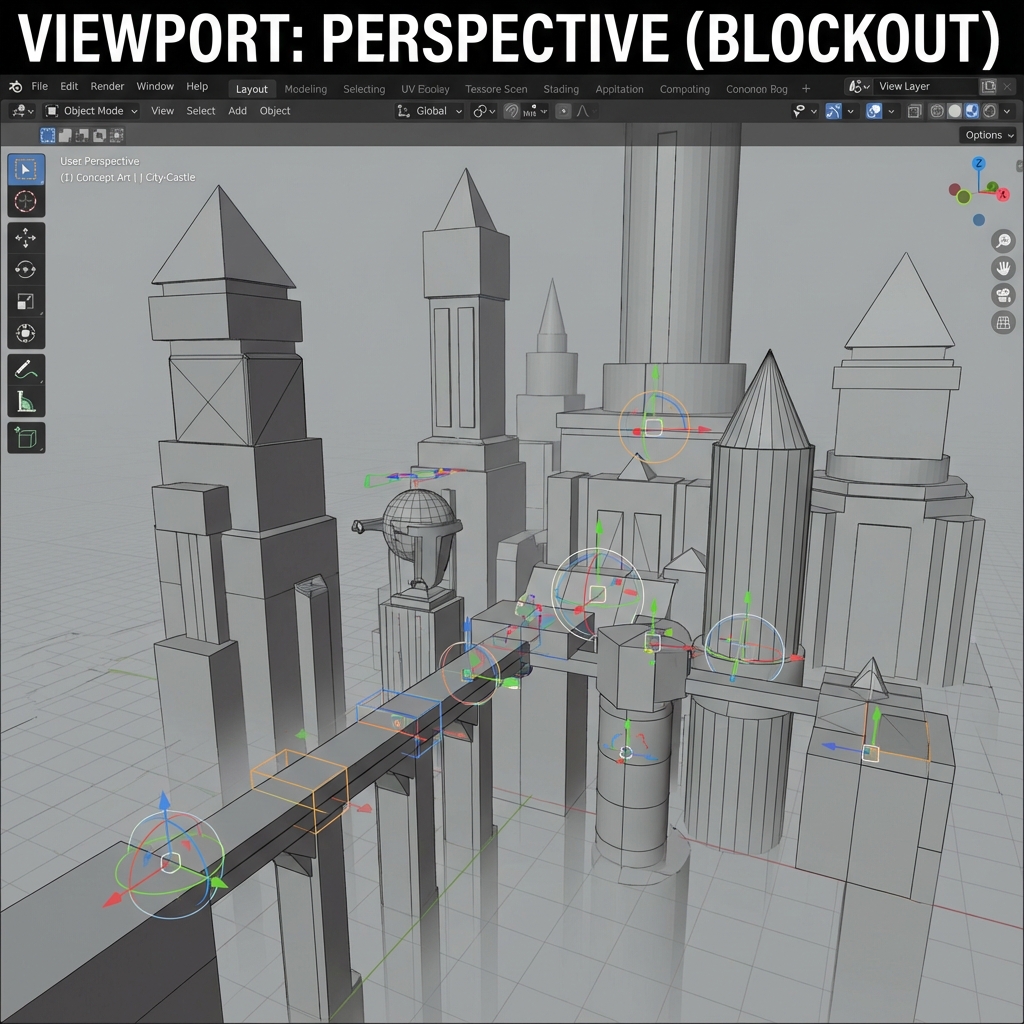
- Jump In with Primitives: Start with cubes, cylinders, and planes. Scale and position them loosely to create silhouettes of buildings, cliffs, or machines. Treat them as placeholders, not finished forms.
- Fail Fast: Early blockouts help you visualize what works—and what doesn’t—before wasting time on detail. It’s easier to rotate a box than remodel a complex prop.
- Viewport Sketching: Use the Grease Pencil to sketch over your 3D viewport. Annotate possible structures, lighting angles, or add design notes directly into the scene.
2. Supercharge Your Startup File
Optimize Blender to launch you into creation—not setup.
- Prebuilt Scene Essentials: Include a human scale dummy, an HDRI dome, and basic three-point lighting. Add linked collection assets for quick kitbashing.
- Camera Defaults: Preload a camera with rule-of-thirds overlays, Depth of Field enabled, and default lens focal lengths (35mm for wide, 85mm for portraits).
- Layered Collections: Create collections for “Characters,” “Props,” “Environment Elements,” and “Lighting.” Turn visibility on/off easily with shortcuts.
3. Think Like a Level Designer
Visual storytelling improves when you build as if someone will walk through the space.
- Player Pathing: Add a ground plane with blocked-in walkways, paths, or roads. Consider what a character would see and feel as they traverse.
- Hierarchical Landmarks: Place focal points (statues, towers, cliffs) that anchor the viewer’s eye. These help composition and in-world navigation.
- Sightlines and Foreshadowing: Use framing to hint at important structures in the distance. Lead the viewer toward narrative beats.
4. Photo Texturing: Cheat with Confidence
Perfect procedural materials are time-consuming. Smart artists know when to cheat.
- Quick UVs: Use Smart UV Project for instant unwraps. Good enough for concept renders.
- Projection Mapping: Load reference images and project them onto geometry. Works great for slapping urban decay or rocky cliffs onto meshes.
- Asset Overlays: Combine PBR materials with image textures to inject realism. Add AO and roughness maps as needed, but don’t overbuild.
5. BMS Theory: Composition in 3D
Visual hierarchy matters. Use the 70/20/10 rule for shape and detail distribution.
- Large Forms (70%): These dominate your image—cliffs, towers, spaceships. Focus here first.
- Medium Forms (20%): Doors, balconies, machinery. Give the eye waypoints.
- Small Details (10%): Pipes, cracks, debris. Sprinkle sparingly to avoid visual noise.
- Scene Variants: Duplicate your base layout and swap large or medium forms. Use this to pitch 3–5 ideas rapidly.
6. Viewport Lighting Magic
Don’t wait for full renders. The viewport is your realtime canvas.
- Work in Eevee: Enable ambient occlusion, bloom, and soft shadows. Use screen space reflections for metal.
- HDRI Quick Test: Drag-and-drop environment maps from HDRI Haven or Poly Haven. Rotate to find a light angle that dramatizes the subject.
- Contrast Passes: Use one-key lights to create rim lights, silhouettes, or volumetric shafts. Play with light temperature to set mood (e.g., 3000K for firelight).
7. Blackbody Node and Realistic Sunlight
No more guessing RGB values. Use the Blackbody node for accurate light color.
- Set Temperature Values: 2500K = warm candlelight, 5500K = neutral sun, 9000K = blue twilight.
- Day-Night Variations: Duplicate the scene and create variations with sunrise, high noon, and evening light. Clients love lighting options.
8. Depth, Fog, and Atmosphere
Sell scale and mood using volumetric effects.
- Z-Axis Storytelling: Separate your scene into background, midground, and foreground with subtle color grading and scale shifts.
- Volumetric Fog: Add a cube volume shader with low density to create mist. Stack noise textures to simulate turbulence or god rays.
- Distance Blur: Use camera Depth of Field and Z-Depth compositing to control clarity.
9. Organize, Optimize, Iterate
Great design doesn’t survive in chaos.
- Collections and Naming: Use clean collection hierarchies and name objects clearly. Avoid “Cube.001” syndrome.
- Low-Res Proxies: Use decimated versions of geometry for distant objects. Replace with high-res when needed.
- Instances Save Time: Model one tower, then instance it across your layout. Updating the master mesh updates all copies.
- Viewport Performance: Keep your VRAM low—delete unseen faces, disable viewport subdivisions, and use wireframe mode for navigation.
10. Blender to Photoshop: Export the Perfect Paintover
Blender sets the stage. Photoshop completes the story.
- Camera Render: Set focal length, aspect ratio (e.g., 2.35:1 for cinematic), and lock the camera view.
- Material ID Masks: Use the Material Index pass in Cycles or Eevee to generate masks for precise Photoshop selections.
- Render Layers: Output beauty pass, shadows, ambient occlusion, and normals. Stack them in Photoshop for painting flexibility.
- Value First: Consider exporting your render in grayscale to focus on shapes and contrast before applying color in 2D.
Conclusion
Blender is not just a 3D tool—it’s a concept artist’s playground. By embracing rough geometry, bold lighting, and smart organization, you’ll produce work that feels immersive and production-ready.
You’re not modeling for a game engine. You’re painting with geometry and light. Forget perfect topology. Focus on speed, story, and spectacle.
Use this workflow to iterate fast, pitch strong, and execute art that doesn’t just look good—but feels alive. Coming up next: how to merge this 3D power with Photoshop’s finishing finesse in our hybrid pipeline guide.
Next and Previous
- Previous: Color Scripting for Concept Art: Gamut Masks, Palette Control, and Emotional Storytelling
- Next: The Hybrid Pipeline: Integrating 2D and 3D
Related tutorials
- Mist Pass in Blender: Z‑Depth Workflow for Atmospheric Perspective in Photoshop
- Sci‑Fi Architecture in Blender: Greebles, Paneling, Arrays, Decals, and Scale Cues
- Organic Environments: Procedural Workflows in Geometry Nodes
- Cinematic Lighting in Blender: 3-Point Rigs, Rembrandt, Rim Light & Filmic Exposure