Mastering Photobash Integration: Beyond "Soft Light"
Photobashing becomes professional when it becomes invisible. Your viewers shouldn’t be able to tell which parts are painted, which are photo-based, and which are 3D.
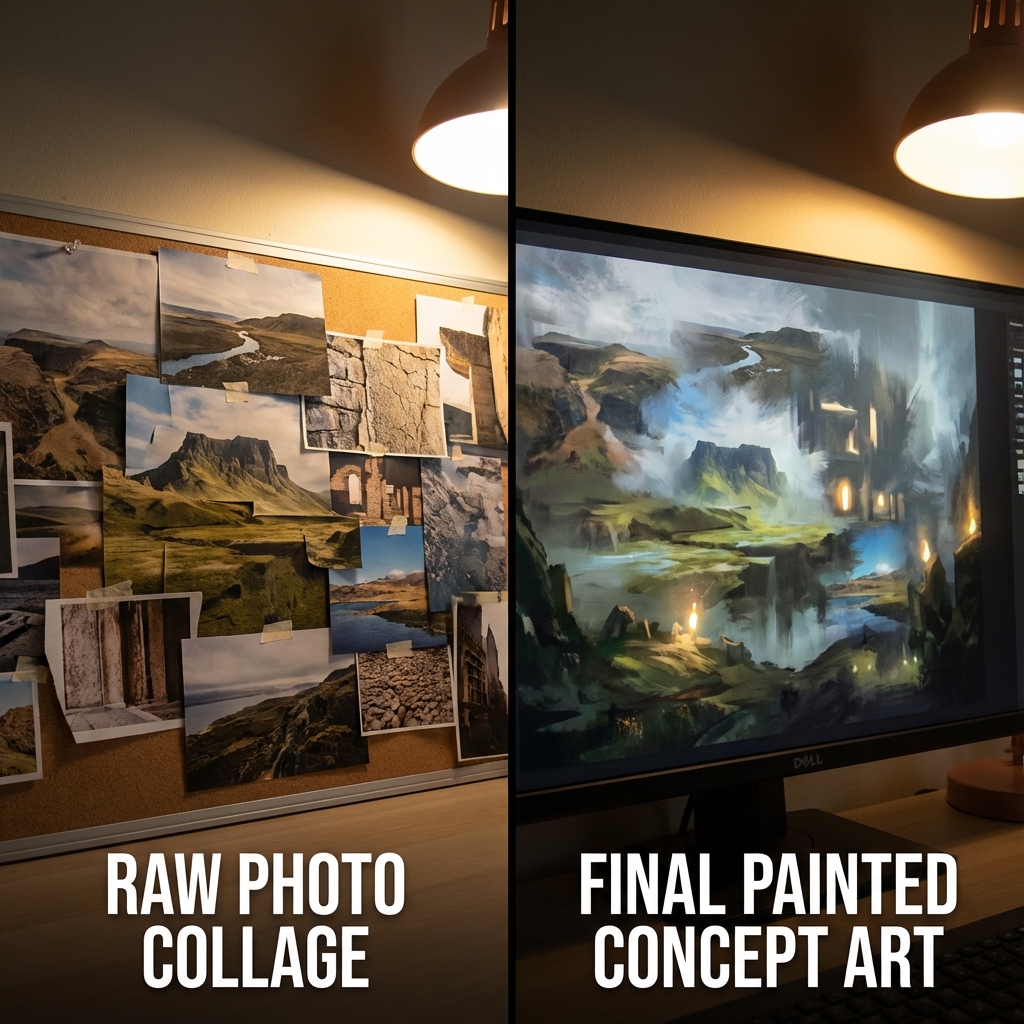
This guide shows how to break photos into value and color, remove baked-in lighting, and relight images into your scene.
1. Matching Value with Histograms
A sunny photo has extreme contrast. A foggy painting doesn’t. Use the Histogram and Levels tools to compress values.
Workflow:
- Open Histogram:
Window > Histogram - Clip a Levels layer to photo
- Adjust Output Levels (bottom sliders)
- Left slider: Raise to lift blacks (simulate fog)
- Right slider: Lower to dim whites
- Optional: Match values numerically using the Info Panel (check RGB values for midtones)
Goal: Bring photo values into the same compression range as your painting.
2. Channel Curves for Color Balancing
Avoid global color shifts. Use channel curves to surgically edit R/G/B balance.
Workflow:
- Add Curves adjustment layer (clip it)
- Select Red, Green, or Blue from dropdown
- Use eyedropper (Ctrl/Cmd-click midtone area) to place points
- Adjust mid and shadow tones individually
- Blue nighttime scene? Reduce Red, boost Blue
- Jungle canopy? Add Green to shadows, balance mids
Tip: Subtle S-curves can simulate bounce light or film response.
3. Delighting: Removing Baked Shadows
Some photos have directional light you don’t want. Use the Divide Blend Mode to neutralize it.
Workflow:
- Duplicate photo
- Set top copy to Divide blend mode
- Apply heavy Gaussian Blur to top layer
- Merge result: flattened texture with original detail preserved
Why it works: Divide attempts to normalize light/dark ratios, especially when blurred version contains only broad illumination shapes.
4. Re-lighting with Paint Layers
Now that lighting is neutral, simulate your scene lighting with brushwork.
Steps:
- New layer above photo (Clipping Mask)
- Set to Multiply → Paint shadow tones
- New layer above that → Overlay or Color Dodge → Paint highlights
- Use Airbrush with low Flow (5–10%)
Pro Tip: Use Selection Tools to isolate edges when painting highlight breaks
5. Edge Integration with Adjustment Layers
Make photobash edges seamless:
- Add Mask Blur (Gaussian Blur on edge mask)
- Add Hue/Saturation and match local tint
- Clone from nearby painted areas with low-opacity soft brush
6. Sharpening and Grain
To unify painted and photo elements:
- Add Grain with
Filter > Camera Raw Filter - Use High Pass Sharpening on final layer (Filter → Other → High Pass → Soft Light)
- Apply slight blur (0.3px) to overly crisp photo assets
Conclusion
Professional photobashing is less about effects and more about balance. Values first, then color, then light. With these workflows, you can paint over, light match, and fully integrate real-world textures without breaking the illusion.
Next and Previous
- Previous: The Concept Art Presentation Deck: Selling the Design
- Next: Sketching for Production: Thinking Before 3D
Related tutorials
- Render Recovery in Photoshop: Fix Lighting, Pose, Materials, and Composition Without Re-Rendering
- Breaking the CG Look: Pro Paintover Workflow in Photoshop (Smudge, Mixer Brush, Grain, Edge Control)
- Mastering Photoshop for Concept Art: The Essential Workflow
- Painting Skin for Concept Art: SSS, Facial Color Zones, and Realistic Specular Control